Now that we've spent some
time going over the basics of the GUI Editor and have created a command button,
we will create a brand new dialog for the users of your game to interact with.
Then, in the section after this, we'll attach both the button we made above and
the dialog we are about to make together to show you how these two separate
GUI's come together to create a user interface.
To begin, open the GUI
Editor and click on the File option on the menu bar at the top, as shown in
Figure 31. In the dialog window that appears type "HelloWorld" in the GUI Name field
and click the Create button,
as shown in Figure 32. Leaving the
class as GuiControl is fine. After
doing so, you'll be presented with a new GUI editing screen, as in Figure 33.
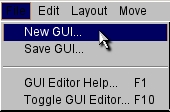
Figure 31
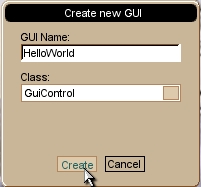
Figure 32
![]()
Figure 33
You now have a blank
screen to work with. The first thing to do is create a new GUI control that
your user can interact with. Otherwise, we'll end up with all sorts of problems
if we push this screen to the canvas and it has no controls.
Click the New Control menu and select the GuiWindowCtrl text, as shown in Figure
34.
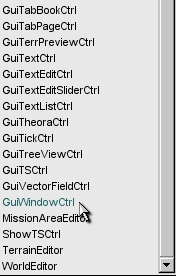
Figure 34
When the new control appears, drag and
size it, so that it looks similar to the control in Figure 35. You want to make
sure it is wide enough to display a title in the top bar. It should also be tall enough and wide
enough to hold another control that we will add shortly.
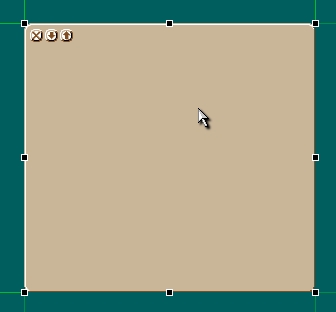
Figure 35
Now we’ll change some of the window’s
properties. With the window still
selected, look at the GUI Inspector.
Enter the following information and edits to the properties:
Change the name to
“myWindow” (*without the
quotes*). Changes the GUIs name
Change the text
to “Hello World!”
(*without the quotes*). Changes the text displayed at the top of the window
Change the closeCommand to “Canvas.popDialog(HelloWorld);” (*without the quotes*). This function is called when you click the [x] in the window
Uncheck the canMinimize
box. Prevents user from minimizing,
also removes the minimize button
Uncheck the canMaximize
box. Prevents user from maximizing,
also removes the maximize button
Your
window’s properties should look like Figure 36. At this point, right click on the myWindow control in your working
area. The end result of your window
after the edits will look like Figure 37.
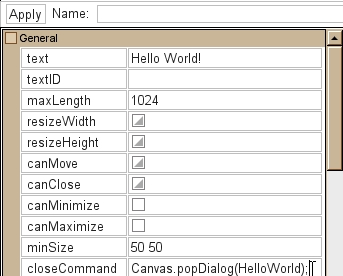
Figure 36
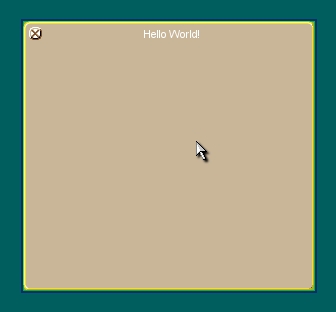
Figure 37
Now that you've laid out
how you want your dialog window control to look, it's time to place another
control on the window. When we created this window control, it was a part of
the canvas. Now, when we create another control, we want it to be a child of
our window control, instead of the canvas itself. Making the new control a
child of the dialog window we just created will force the new control to move
around with window control. If
you’ll notice, we currently have a blue outline around myWindow indicating that it is
currently set as the parent. This
happened when we right clicked on the object. As long as it has the focus, any new
controls we add in the GUI Editor will become a child of the dialog window
control, thus inheriting its position, visibility, and other properties. See
Figure 37 to view the outline.
With your window control
still in focus, click the New Control menu. Select GuiTextCtrl (Figure 38). If you do not like where the text box is placed, you can move it wherever you want. Remember, you can change the position properties manually, drag the control, or use a 3rd method. With the text control still selected, use the arrow keys to nudge the element. If you hold down on the down and right arrow keys, the text box will slide continuously. See Figure 39 for a visual reference of
this step. With the text control still selected, look in the Inspector Dialog
and set horizSizing and vertSizing both to "Center". Finally set the text field to whatever you
like. Here, we’ve used the
phrase “I R GENIUS.” Click Apply. See Figure 40 for details
and Figure 41 for the final product.
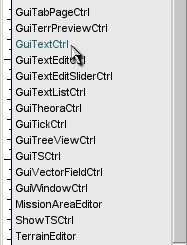
Figure 38
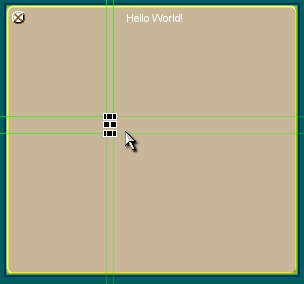
Figure 39
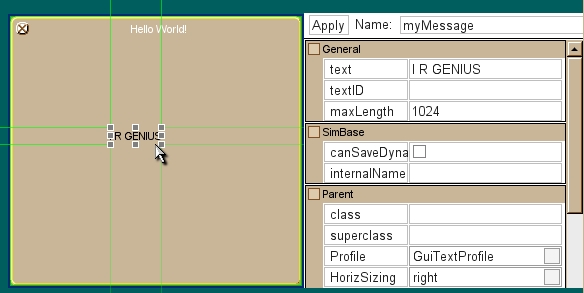
Figure 40
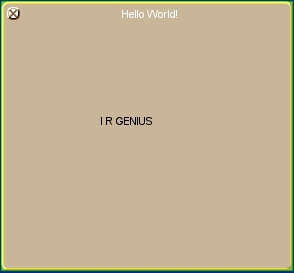
Figure 41
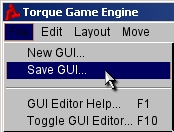
Figure 42
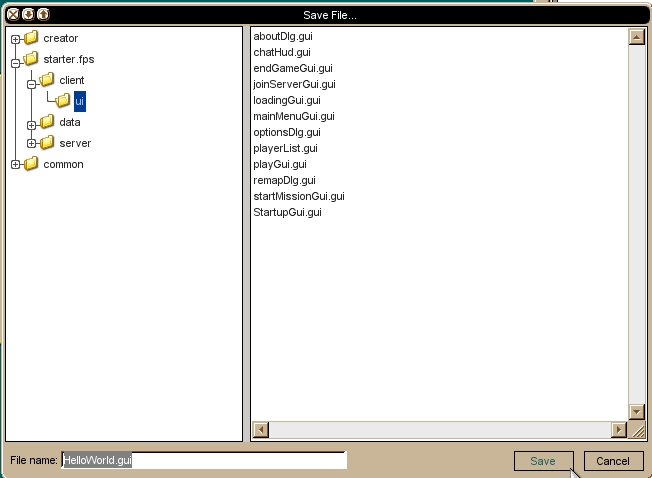
Figure 43
Now
that your new GUI is saved, exit the GUI Editor by hitting F10, and then shut down the TGE Application. We have to do a small amount of script
work to tie this all together. Go
to the Finishing Up section now to close out
the tutorial.